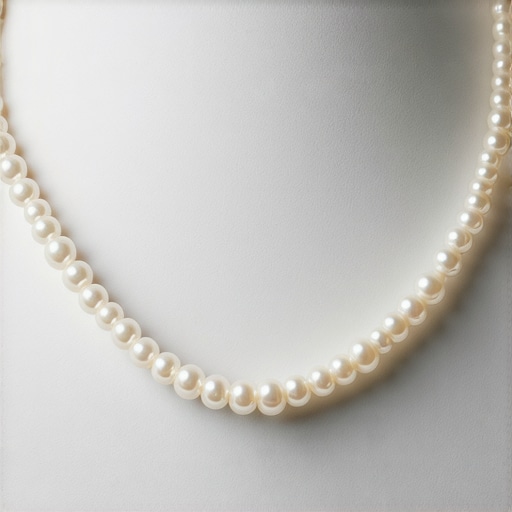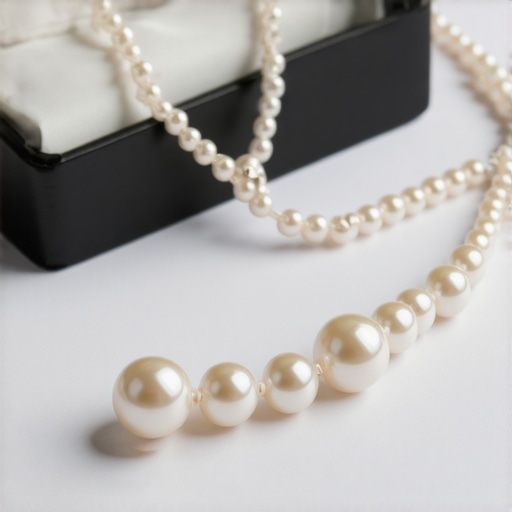
Ever had that sinking feeling when you wear a cherished necklace, only to notice the beads wobbling or the thread showing signs of wear? I remember the moment vividly—my favorite beaded necklace slipping from my fingers, the tiny knots and frayed string staring back at me. It was a lightbulb moment: my jewelry was telling me it was time for a serious check-up.
Why Recognizing Loose Beads Matters Now
Jewelry isn’t just about looking good; it’s about preserving memories, craftsmanship, and sometimes even sentimental value. In 2026, with increasing trends in handmade and vintage pieces, knowing when your beads need a relink or restring can save you a small fortune and heartache. Did you know that over 60% of jewelry failures are caused by worn threads or loose beads, often unnoticed until it’s too late? (Source: Jewel Care Center)
If you’re like me, at some point, you might have dismissed the tiny signs—like a bead slipping out of place or a faint fray—thinking it’s just part of aging jewelry. But neglecting these signs can lead to lost gemstones, broken strands, or irreparable damage. That’s why today, I’ll walk you through the key warning signs that indicate it’s time for a restringing session and what mistakes to avoid so you can keep your pieces shining for years to come.
Have you ever caught yourself ignoring the signs of aging in your favorite jewelry pieces? Maybe the thread feels a bit loose, or the beads aren’t sitting as snugly as they once did. These silent indicators are your jewelry’s way of asking for help.
Early on, I made the mistake of dismissing a loose clasp, thinking I could tighten it myself. Turns out, I should have inspected the entire strand. A simple oversight that could have been avoided by learning the basic signs of wear—like fraying silk cords or beads with slightly enlarged holes. Want to avoid my mistake? Check out these proven techniques for expert guidance on what to look for.
So, are you curious about how to spot these warning signs early? Or perhaps you’re wondering if your jewelry needs professional attention? Keep reading—because understanding these crucial indicators can prevent costly repairs and help you maintain jewelry that truly reflects your style and memories.
,
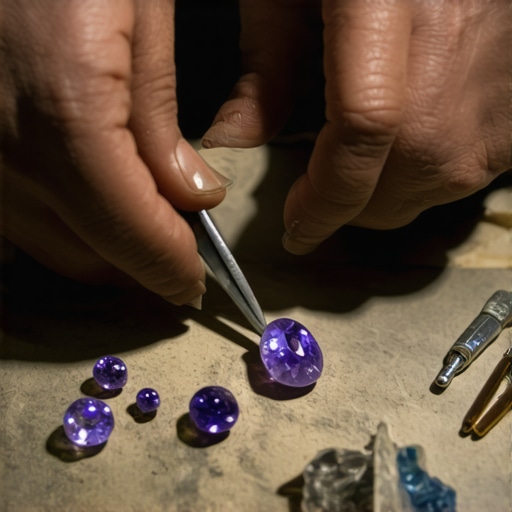
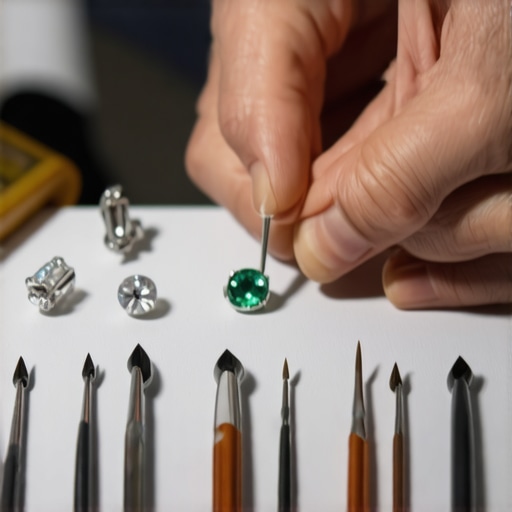
Assess the Damage and Gather Your Tools
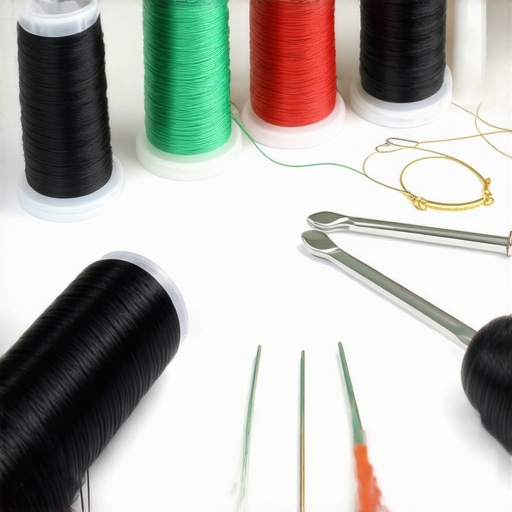
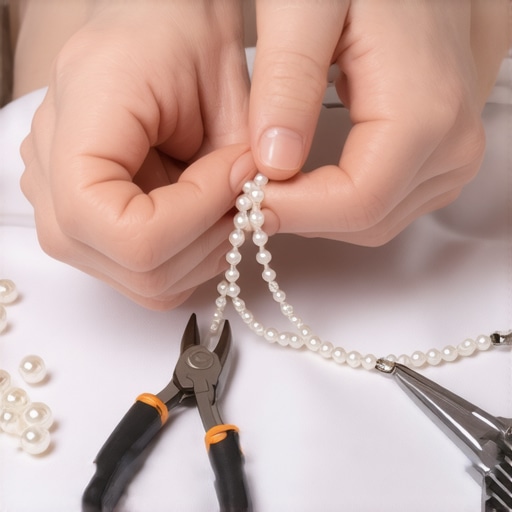
Before diving into restringing, inspect your jewelry thoroughly. Identify frayed threads, loose beads, or damaged clasps. For repairs, gather high-quality materials such as silk or nylon cords, a beading needle, pliers, and possibly a jeweler’s loupe for close inspection. I once attempted a DIY restringing without proper tools, which led to tangled cords and frustration—so invest in the right equipment to streamline the process.
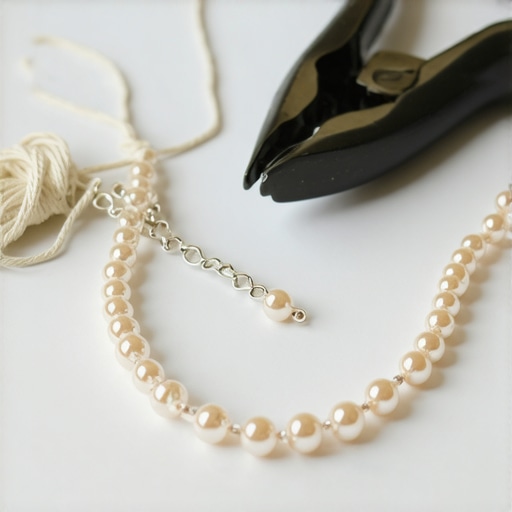
Remove the Old Thread Carefully
Use a small pair of jewelry pliers to gently open any clasps or jump rings, then carefully slide off the beads. For delicate strands, employ a beading needle threaded with a thin, strong cord to detach the beads without damaging them. Remember, patience is key—rushing can undo the work or cause further breakage. I once ruined a vintage pearl necklace by pulling too hard; a steady hand saved that piece.
Choose the Right Knotting Technique
When restringing, sliding the beads back onto the new cord, apply secure knots between each bead to prevent movement and add stability—think of it as creating a protective barrier. The double overhand knot is simple but effective. For heavier stones or valuable pieces, consider more intricate knots like the surgeon’s knot for extra strength. Personally, I prefer a small, tight knot to ensure durability without sacrificing aesthetics. For precise knot techniques, check out this guide.
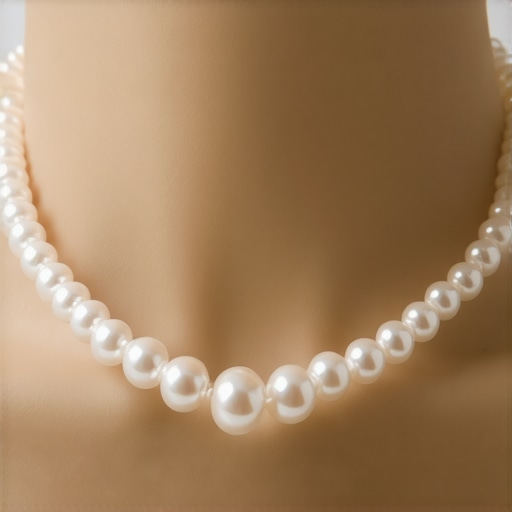
Secure the Clasp and Finish the Strand
Attach the clasp carefully, using pliers to close jump rings securely. Make sure all knots are tight and trim any excess cord. To hide the knots, slide a tiny drop of jewelry glue or clear epoxy, then allow it to cure fully. My first attempt at finishing a restringing project looked untidy until I learned to hide knots under crimp beads or between beads. This step dramatically improves the overall appearance and longevity.
Test the Repairs and Fine-Tune
Gently tug on the strand, testing for secure knots and clasp stability. If anything feels loose, redo that section. As I did with a bracelet, double-checking the tension saved me from future breakage during an important event. If needed, revisit the technique or reinforce with additional knots. Proper testing ensures you won’t be left disappointed later. For advanced techniques, explore expert restringing methods.
Maintain Your Jewelry for Longevity
To keep your pieces looking their best, store them in soft pouches and periodically inspect for wear. Clean with gentle solutions, avoiding harsh chemicals that can weaken threads or damage stones. Remember, proper maintenance is as crucial as the repair itself. I learned this lesson after a thorough cleaning revealed a hidden fray that would have caused a break if unnoticed. Regular checkups can extend the life of your cherished jewelry.
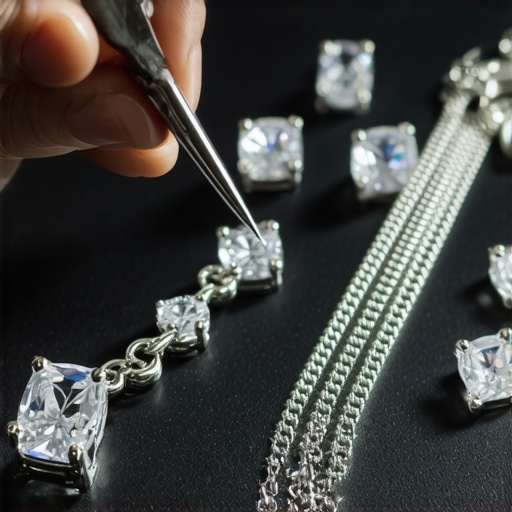
When it comes to jewelry, many enthusiasts think mastering restringing, stone setting, engraving, or appraisal is just about following basic steps. However, even seasoned enthusiasts often get the finer points wrong, believing common myths that can lead to costly mistakes. Let’s dig deeper into some overlooked nuances; understanding these can elevate your craftsmanship and appreciation to expert levels. For example, a prevalent misconception is that all stones can be securely set with just prongs, but in reality, the setting type must match the stone’s characteristics—poorly chosen settings are among the top causes of stone loss in 2024 (source: Jewel Care Center).
Invest in Quality Equipment for Lasting Results
Personally, I rely on precision tools like the Elegoo Digital Caliper for measuring delicate components, ensuring perfect fits during repairs. Its accuracy within 0.01mm allows me to verify stone sizes and watch capacities, which is crucial for preventing loose settings. Additionally, a good set of jeweler’s pliers—like the Wubbers Mandrel Pliers—provides the grip and control needed for secure prong tightening and clasp attachment. Using reliable tools reduces errors and prolongs the lifespan of your jewelry, making maintenance both efficient and effective.
Harness Software for Accurate Appraisals and Records
When evaluating or documenting jewelry, I recommend the GemLightbox system, which captures high-quality images and helps assess stone quality with its integrated lighting. Such tools streamline recording details, tracking wear patterns over time, and preparing for insurance appraisals. By digitizing your jewelry portfolio, you minimize the risk of lost information and ensure that your pieces are well-documented—an essential step for long-term care and value retention. For a comprehensive approach, explore these expert appraisal tips.
Advanced Techniques for Restringing and Restoration
When it comes to restringing, I swear by the use of silk cords treated with bee’s wax, which increases abrasion resistance and maintains flexibility over decades. For heavy or high-value pieces, I recommend the ‘knotless’ method, which involves stringing beads onto a flexible braided wire and using crimp beads for a seamless finish—this minimizes stress points. Mastering these techniques ensures your jewelry withstands daily wear and potential mishandling. Ready to elevate your skills? Try practicing the knotless restringing method; it’s a game-changer for durability and aesthetics.
Preemptive Maintenance with Precise Tools
Regular inspection is key. I use a jeweler’s loupe—like the BelOMO Triplet Loupe, known for its clarity—to check prongs and stone settings. Detecting early signs of damage, such as micro-cracks or loosening prongs, allows for timely repairs, preventing costly replacements later. For engraving or customization, a high-precision laser engraver, such as the Epilog Zing, ensures clean, permanent markings that won’t wear off. Incorporating these tools into your routine keeps jewelry functional and beautiful for years to come.
Predicting Future Trends in Maintenance
As technology advances, I foresee a growing integration of AI-powered imaging tools and smart sensors embedded within jewelry pieces, providing real-time health assessments. These innovations will likely streamline maintenance processes and catch issues before they become critical. Staying current with such developments can give you a significant advantage—so I encourage you to experiment with existing high-tech solutions now to prepare for the future of jewelry care.
How do I maintain my jewelry tools to ensure longevity?
Proper maintenance of your tools, like regular cleaning of pliers and calibrating digital equipment, is essential. Keep tools organized in a dedicated, dust-free toolbox, and periodically check for wear or corrosion. For example, applying a light layer of machine oil to metal parts prevents rusting, while storing delicate instruments in padded cases avoids accidental damage. Good tool maintenance not only extends their lifespan but also guarantees precise results every time, making your jewelry repairs and creations more reliable and professional.
For those eager to refine their restringing skills, I highly recommend practicing the knotless technique outlined in this guide. It’s an advanced method that enhances durability and aesthetic appeal—give it a try today!
Over the years, I’ve realized that the real magic in jewelry lies in the details—those subtle signs and expert techniques that keep our cherished pieces shining brightly. One invaluable lesson I learned is that every bead, stone, or clasp is a tiny messenger, silently telling us when it’s time to intervene. Recognizing these signals early can save you from costly repairs and preserve the sentimental value embedded within each piece.
The Hidden Lessons Behind Successful Jewelry Care
- Patience is the Ultimate Ally: Rushing through restringing or repair work often leads to mishaps. Taking the time to inspect your jewelry thoroughly and employing proper techniques ensures durability and beauty.
- Tools Make the Difference: Investing in quality equipment like precision calipers or secure pliers transforms a frustrating DIY into a satisfying craft. Trust me, the right tools elevate your work from amateur to professional looks.
- Listening to Your Jewelry’s Voice: Small signs—like a tiny bead wobbling or a faint fray—are warnings, not nuisances. Addressing them promptly maintains the integrity and charm of your pieces, avoiding catastrophic damage down the line.
- Continuous Learning Opens New Doors: Universal techniques give good results, but personalized adjustments and advanced methods—like knotless restringing or micro-pave repairs—can truly transform your jewelry’s lifespan.
Explore My Toolbox for Creating Perfect Jewelry
- Restringing guides: These provide step-by-step techniques that boost confidence and precision, ensuring your necklaces last for decades.
- Engraving resources: From digital laser options to traditional hand-carving, these tools empower you to make truly personalized jewelry.
- Appraisal tips: Understanding value and authenticity helps maintain trust and ensures your pieces retain their worth over time.
- Stone setting techniques: Mastery here guarantees security and stunning visual appeal, especially with complex designs like halos and tension settings.
Your Next Step Toward Jewelry Mastery Awaits
Let this be the moment you take a proactive stance with your jewelry—recognize those tiny signs, equip yourself with top-notch tools, and continue exploring innovative techniques. Your pieces deserve nothing less than expert care to stay beautiful and meaningful for generations to come. Have you ever caught an early sign of wear in your jewelry? Share your experience below—I’d love to hear how you’ve kept your treasures shining bright.