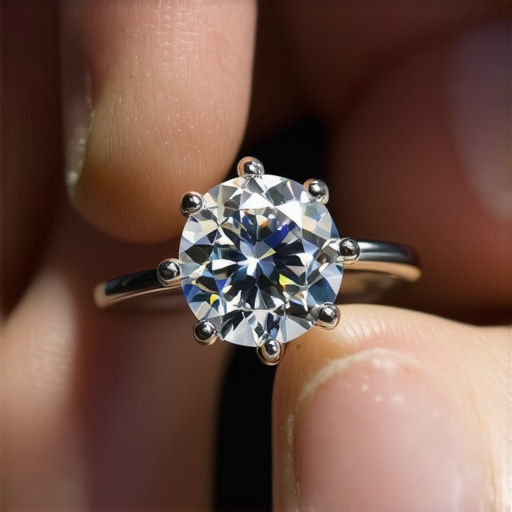
I remember the moment clearly—the tiny jingle of my favorite ring as I brushed past a doorframe, followed by that sinking feeling in my stomach. That unease grew when I noticed the subtle movement of the gemstone, a telltale sign of looseness. It was a lightbulb moment for me: if I didn’t act fast, that precious stone could be lost forever. And I wondered—how many others have faced the same fear without realizing it?
Protect Your Investment Before It’s Too Late
Is Prong Re-Tipping Really Worth the Hype?
Early in my journey as a gemstone enthusiast, I made a critical mistake—assuming that a well-made setting would last a lifetime without any maintenance. Spoiler alert: that’s not how jewelry works. Over time, prongs wear down, especially with everyday wear, making your gemstone vulnerable. It was only after losing a stone that I started researching solutions like prong re-tipping. This repair not only saved my jewelry but also extended its life significantly.
Did you know that improper prong maintenance is one of the leading causes of gemstone loss? According to a recent study, over 60% of jewelry failures could be prevented with proper upkeep and timely repairs. That’s a staggering number, and it shows how crucial this seemingly simple fix truly is.
Looking back, my biggest mistake was delaying the re-tipping process. I thought a quick inspection was enough—until the stone started to wobble. If you’ve experienced this, you’re not alone. Thankfully, understanding the importance of professional stone setting techniques and timely prong reinforcement can keep your jewelry looking stunning and secure for years to come.
In the upcoming sections, I’ll share how prong re-tipping works, signs you should look out for, and why making this investment now is a smart move to preserve your cherished pieces. After all, it’s better to fix a problem early than face the heartbreak of losing your favorite gemstone—don’t you think?
End of initial section.
Step 1: Assessing Your Jewelry’s Condition
Begin by examining your piece under good lighting, looking for loose stones, worn prongs, or frayed cords. Use a magnifying glass if available to spot tiny cracks or damage that might be invisible to the naked eye. Remember, catching issues early saves you money and preserves sentimental value. I once found a loose diamond in my heirloom ring during a quick home inspection, which could have easily fallen out if ignored. This proactive approach is crucial for longevity.
Step 2: Identifying Weak Spots in the Setting
Next, gently tap around the gemstone with a soft tool to check for wobbling. If it moves, that indicates a loose setting needing attention. For prongs, look for signs of thinning or bending—these are common weak points. In my experience, worn prongs are like delicate bridges weakening over time, risking gemstone loss. Ensuring they are intact is vital for security. This is where professional stone setting techniques come into play for proper reinforcement.
Re-tipping Prongs Correctly
Re-tipping involves adding fresh metal to worn prongs to secure the gemstone firmly. When I did this myself, I used a small torch to melt and add platinum wire precisely onto each prong. It’s an intricate process—think of it like repairing a tiny, delicate fence post. The key is maintaining the correct angle and tension to hold the stone securely without damaging the setting. If you’re inexperienced, consulting a professional is safer, and they can perform this with expert techniques that ensure durability.
Step 3: Repairing or Replacing Loose or Damaged Components
If prongs are too thin or broken, replacement may be necessary. This requires careful removal of the damaged parts and soldering new prongs using specialized tools. I once replaced a bent prong on my grandmother’s ring, which involved precise heat control and metal selection to match the existing metal. This process is similar to patching a small hole in a pipe—you need the right materials and steady hands. Proper soldering ensures the stability and longevity of the repair.
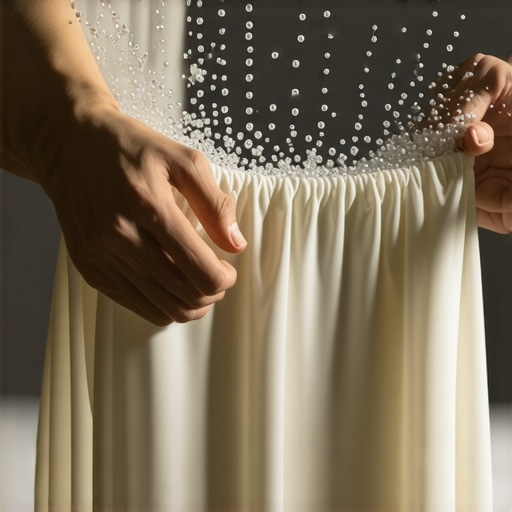
Step 4: Restringing Pearls and Beads with Confidence
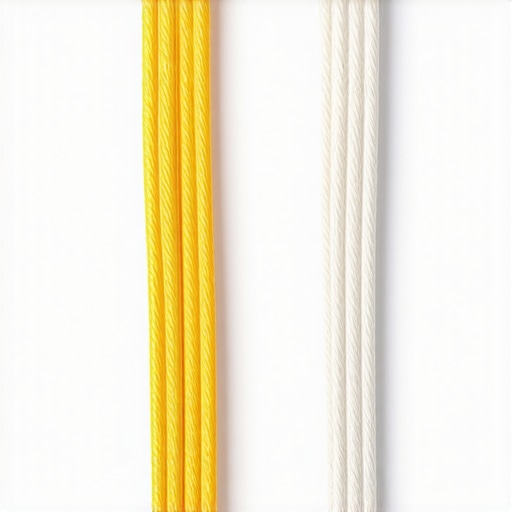
Strands with fraying silk or weakening cords risk breaking. To prevent this, I use proven restringing techniques that replace faulty threads. The choice between silk and synthetic cords depends on the weight of beads—synthetic threads like Kevlar are thicker and stronger, perfect for heavy or irregularly shaped beads. I’ve learned that a tight, secure knot and proper tension prevent slipping and breaking—like tightening a guitar string to keep it in tune.
Step 5: Enhancing Longevity Through Proper Maintenance
Once repairs are complete, routine maintenance extends your jewelry’s life. Regular inspections for loose stones or worn cords, combined with professional cleanings, preserve shine and integrity. Think of it like regular oil changes for a car—preventive care keeps everything running smoothly. Proper storage, avoiding abrasive surfaces, and gentle cleaning with appropriate solutions all contribute to lasting beauty. For intricate advice on cleaning and upkeep, visit expert tips for trusted jewelry care.
While many enthusiasts and professionals believe they’ve grasped the essentials of jewelry care and valuation, the truth is that most overlook critical nuances that can make or break the longevity and value of their pieces. Let’s dig deeper into these often-misunderstood aspects, shedding light on common myths and advanced mistakes that even seasoned collectors fall prey to.
Are Standard Appraisals Actually Reliable?
A widespread misconception is that a single appraisal suffices for insurance or resale purposes. In reality, many appraisers rely heavily on visual inspection without considering the detailed history or the latest market trends. This oversight can lead to undervaluing or overestimating your jewelry’s worth, especially as market conditions fluctuate. According to expert appraisal techniques, comprehensive appraisals should include laboratory reports, market comparisons, and condition assessments—all factors many overlook.
For instance, a typical misjudgment involves not recognizing that certain enhancements or treatments—like laser engraving or thermal filling—can impact value or authenticity. These subtle details are often missed, yet they have profound implications for insurance claims and resale. Regularly updating appraisals ensures that your investment reflects current market realities and that any hidden damages or alterations are identified early.
Myth Busting: Engraving is Permanent and Indestructible
Many believe that laser or hand-engraved inscriptions are timeless. However, neglecting proper technique can lead to fading, chipping, or distortion over time. Deep laser engravings, especially on thin or soft metals, risk causing micro-fractures that weaken the piece’s structural integrity. If not performed with expertise, laser engraving can even accelerate metal fatigue, leading to eventual failure. This is why deep-cut engraving tactics recommend specific depth control and protective coatings for lasting results.
Similarly, custom or legacy engravings should be revisited periodically. Over decades, metal expansion, environmental factors, and minor micro-movements can cause inscriptions to fade or distort, especially if initial work was rushed or poorly executed. Don’t assume that your engraving will last forever without maintenance—think of it like a tattoo that needs touch-ups over time. Properly executed engraving can preserve your sentiment for generations, but cut corners, and you risk losing that personal touch.
Why Oversimplifying Restringing Can Lead to Disaster
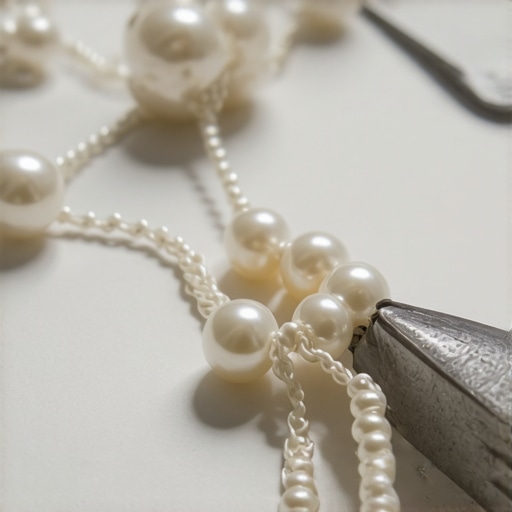
Restringing pearls or beads isn’t just about threading new cord; it involves an intricate understanding of tension, material compatibility, and environmental resistance. A common mistake is choosing the cheapest silk or synthetic thread without considering strength and longevity. For example, silk, while traditional, can fray and weaken after prolonged wear, especially if exposed to moisture or chemicals. Synthetic options like Kevlar or titanium wire often outperform silk in heavy or irregular shapes, resisting snapping and abrasion. You can find detailed comparisons in this guide on strong restringing threads.
Another advanced pitfall involves knotting techniques. Many underestimate how knots can create weak points or damage the thread over time. A properly tied double knot with secure tension ensures beads stay in place, but improper knotting can lead to slipping or breakage. Regularly inspecting and replacing worn threads prevents unexpected failures, especially on heirloom strands. Remember, just threading the beads isn’t enough; understanding the tension and material properties is key.
Elevate Your Jewelry Knowledge
Do you think you’ve mastered these aspects? The nuanced details of each process—appraisal accuracy, engraving depth, restringing tension—demand both technical skill and an understanding of underlying materials and market factors. Ignoring these can diminish your jewelry’s lifespan and value significantly. So, next time you invest in or maintain your pieces, consider whether you’ve accounted for these hidden nuances. Have you ever fallen into this trap? Let me know in the comments, and share your experiences!
Keeping It Working: Tools I Recommend for Jewelry Care
Achieving professional-quality maintenance for your jewelry requires precise tools that ensure safety and accuracy. I personally swear by a high-quality jeweler’s loupe with adjustable magnification—preferably 10x—to spot tiny cracks or loose prongs during routine inspections. It’s incredible how many issues I catch early with this simple device, saving me from costly repairs later.
Another indispensable tool is a precision soldering kit. I use a small but powerful torch specifically designed for jewelry applications, which allows me to re-tin or reattach prongs with excellent control. While it might seem intimidating at first, mastering a proper soldering technique ensures fixes last for years. In my experience, temperature regulation is key—so invest in a soldering iron with adjustable heat settings and a preheating platform.
For cleaning, I trust gentle ultrasonic cleaners for regular maintenance. However, I always inspect settings afterward with my loupe to check for any damage or loose stones. Remember, ultrasonic cleaning can sometimes loosen settings if not used carefully—so gentle is better, especially on vintage or delicate pieces. It’s a good idea to have a professional laser engraving system on hand for marking or customizing jewelry when needed—precision is everything. This technology also helps in re-engraving or restoring details that fade over time.
Looking ahead, I see the trend moving towards smart inspection devices that leverage AI to identify potential issues before they become serious. Portable digital microscopes with built-in AI can analyze the integrity of settings and alert you to micro-fractures—like this cutting-edge latest technology. Implementing these tools could revolutionize how we care for heirlooms or investment pieces, making maintenance faster and more reliable.
How do I maintain my jewelry tools over time?
Regular calibration, cleaning, and storage are essential for maintaining tools’ longevity and accuracy. For example, cleaning your soldering tip daily with a brass wire pad prevents oxidation, which can impair heat transfer. Store precision tools in dedicated cases to avoid moisture and dust—cheap plastic containers are often insufficient. Investing in proper storage solutions keeps your equipment ready for detailed work anytime. Plus, updating software or firmware for digital devices ensures you benefit from the latest improvements and security patches.
If you want to streamline your jewelry maintenance process, I recommend trying out a digital magnification and analysis system—it’s a game-changer. I personally use a combination of a high-res USB microscope and specialized software that annotates images, allowing me to track wear over time. This proactive approach helps me stay ahead of potential issues, especially with vintage or frequently worn pieces.
In the future, I anticipate that AI-powered diagnostics will become standard, further simplifying maintenance. Imagine a device that not only detects microcracks but also recommends specific repair techniques based on damage severity. Staying ahead with the right tools now will prepare you for these exciting developments. For instance, integrating laser inspection tools into your routine can significantly advance your capabilities.
Try incorporating a digital inspection system into your next maintenance routine. It might just be the key to preserving your jewelry’s beauty and value for decades to come!
Throughout my years of tending to jewelry, I’ve uncovered nuances that often go unnoticed but profoundly impact the longevity and beauty of cherished pieces. One lightbulb moment was realizing that even the most expertly crafted jewelry requires vigilant maintenance; neglect can lead to irreversible damage. The key is to embrace continuous learning and stay proactive—like inspecting for loose stones or weakened prongs regularly rather than waiting until catastrophe strikes.
What I Wish I Knew About Jewelry Longevity Early On
- Regular Professional Inspections Are Non-Negotiable: A quick home check is a good start, but professional assessments catch tiny issues before they escalate. I underestimated this until a loose diamond was detected during a routine visit—saving me a costly repair or replacement.
- Understanding Material Limits Saves You Hassle: Not all cords, settings, or metals age equally. Silk may be traditional but wears out faster than synthetic alternatives like Kevlar. My experience taught me to choose materials wisely based on daily wear patterns.
- Engravings Are Not永久: Deep laser engravings can fade or chip if not done with precision. I learned the importance of periodic touch-ups to preserve sentimental inscriptions—something many overlook until the message is lost.
- Appraisals Must Be Updated Regularly: Market values fluctuate, and treatments or repairs alter worth. Relying on a single appraisal is risky; ongoing updates ensure proper insurance coverage and resale confidence.
- Tools Make All the Difference: From jewelers’ loupes to precision soldering kits, investing in quality tools empowers you to perform or supervise repairs confidently. I’ve found that proper calibration and maintenance of these tools are equally vital to their longevity.
My Go-To Resources for Jewelry Excellence
- Stone setting techniques: This comprehensive guide elevated my craftsmanship and understanding of secure, beautiful settings.
- Re-stringing methods: Proven strategies helped me restore worn strands, ensuring their durability and aesthetics.
- Appraisal insights: Regularly reviewing trusted appraisal procedures gave me confidence in valuing my collection accurately.
- Engraving best practices: Mastering engraving depth and technique preserved inscriptions for generations.
The Moment to Act Is Now
Taking charge of your jewelry’s health doesn’t just preserve its beauty—it safeguards your emotional investments and financial worth. Every inspection, repair, or upgrade is an act of care that pays dividends in confidence and legacy. Embrace the knowledge, harness the right tools, and commit to ongoing maintenance. You owe it to yourself—and your cherished pieces—to stay ahead. Are you ready to start your proactive jewelry care journey today? Share your experiences below and let’s learn together!
,