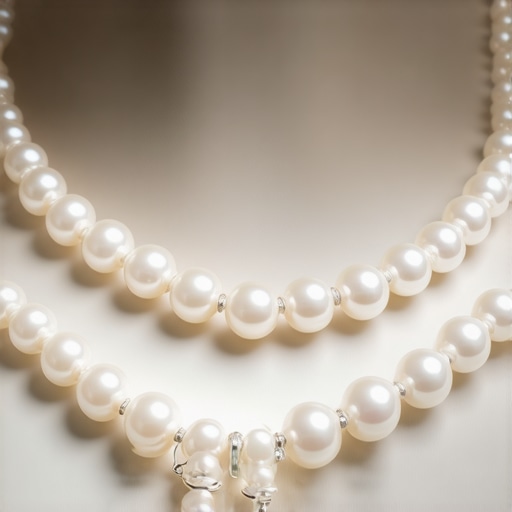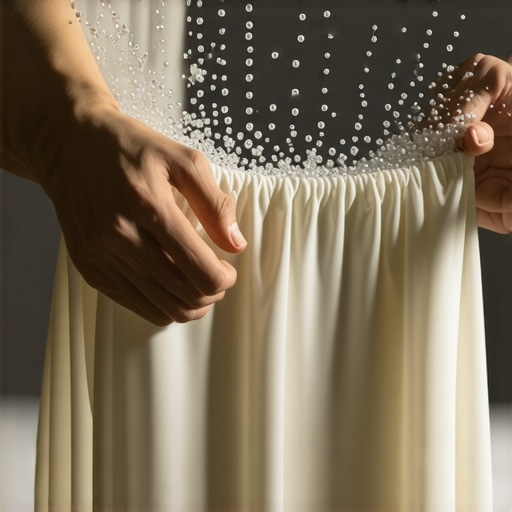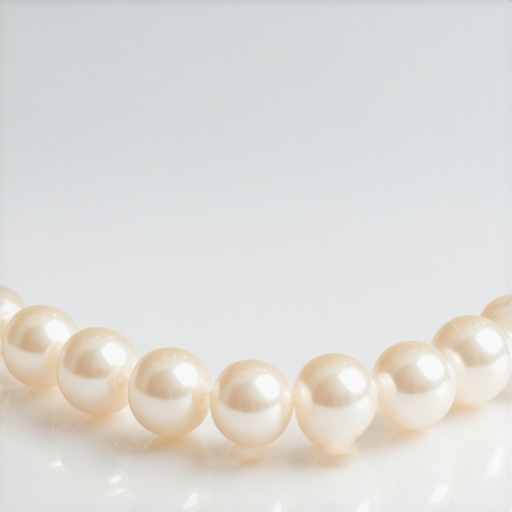
Have you ever tried to wear your favorite pearl necklace only to find the string giving way, beads slipping, or that telltale sign of wear showing up right when you least expect it? I remember the exact moment I noticed my treasured strand felt a bit looser, the silk thread slightly frayed, and a sinking feeling in my stomach. It was a lightbulb moment—realizing that without proper care and maintenance, even the most beautiful pearls are vulnerable to time and wear.
The Hidden Danger Lurking in Your Jewelry Drawer
Believe me, I learned this the hard way early on. I’d assumed that pearls, being natural treasures, could withstand the test of time just by wearing them regularly. But the truth is, the silk thread that holds our pearls together can degrade faster than we think. Over time, exposure to body oils, cosmetics, and humidity can weaken the thread—a silent threat that often goes unnoticed until beads start to shift or worse, break.
Here’s the thing: most people overlook the critical importance of restringing pearls with modern, durable materials. Back in the day, silk was the go-to choice, but with advances in polymer technology, there are now better options that could save you from costly replacements or accidental losses. In fact, polymer restringing not only extends the lifespan of your pearls but also safeguards your investment and keeps them looking spotless longer.
Promise: We’ll demystify the why and how of polymer restringing so your pearls remain as stunning as the day you first got them. No more surprises or regrets—just a simple, reliable way to care for your cherished pieces.
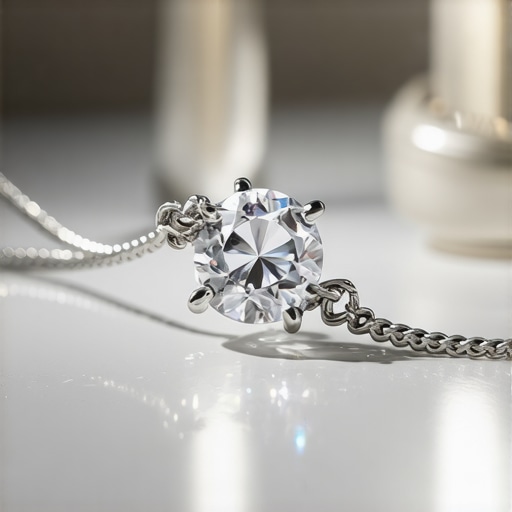
Is Polymer Stringing Really Necessary or Just a Trend?
I admit, I was skeptical at first. It seemed like just another fad until I discovered that early in my jewelry journey, I had made a common mistake—ignoring the signs that my strands needed restringing. That mistake nearly cost me my favorite pearl necklace, which could have been easily avoided if I had known the importance of choosing the right materials and timing.
Now, I make it a point to inspect my strands regularly and stay informed about the best restringing practices. Want to learn how to do the same? Let’s dive into the essential reasons why polymer restringing in 2026 is a smart choice and how it can keep your pearls shining brightly for generations.
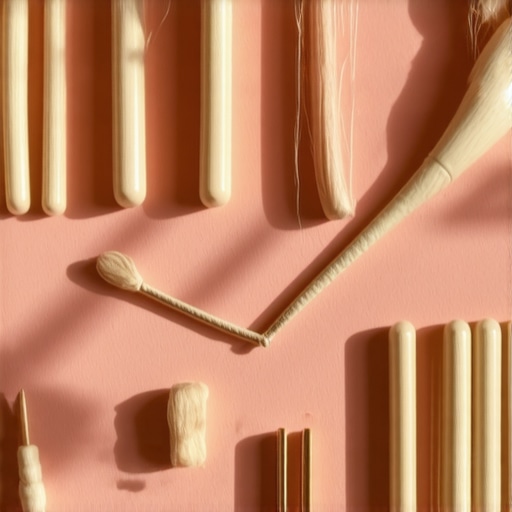
Select the Right Thread Material and Tools
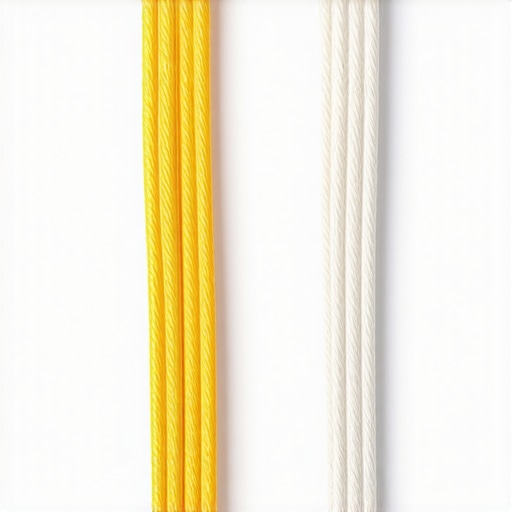
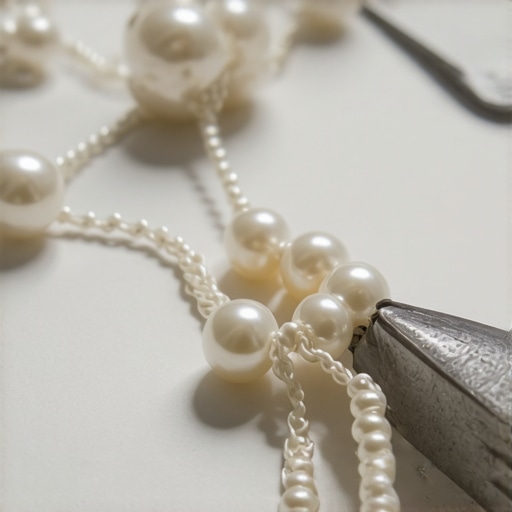
Before starting, choose a durable, high-quality thread designed specifically for pearls. For heavy necklaces, consider using a steel-core or Kevlar thread, which significantly outlasts silk and resists fraying. Ensure you have a fine needle compatible with the thread, a pair of professional jewelry pliers, and a proper workspace. When I attempted my first restring, I grabbed old silk thread and a sewing needle—resulting in a tangled mess and beads slipping everywhere. Learning from that mistake, I switched to a stronger material, which made threading smoother and the final result more secure.
Remove Old Thread Carefully to Avoid Damage
Gently cut the old thread close to the clasp, then slowly slide out the beads, supporting each with your fingers to prevent sudden dropping or scratching. This process is akin to unstringing a delicate picture frame without cracking the glass. During my first attempt, I hurried, tugged too hard, and cracked a bead. Since then, I have learned to work patiently, supporting the beads, and inspecting each for damage, which ensures longevity and saves you from future repairs.
Re-String Pearls Using Expert Techniques
When threading the beads onto the new string, keep tension consistent—tight enough for security but loose enough to prevent stress on the pearls. Use a beading needle that fits snugly through each hole; for larger holes or heavier strands, opt for thicker needles. When I reassembled my own necklace, I used a small knot between each bead—this distributes tension evenly and prevents bead rubbing. For extra security, consider adding specialized knots or microsecurity knots, especially if you wear the jewelry daily. If your necklace is on the heavier side, upgrade to a [5-tough thread option](https://jewelcarecenter.com/5-tough-thread-options-for-heavy-necklace-restringing-in-2026) to ensure it holds up over time.
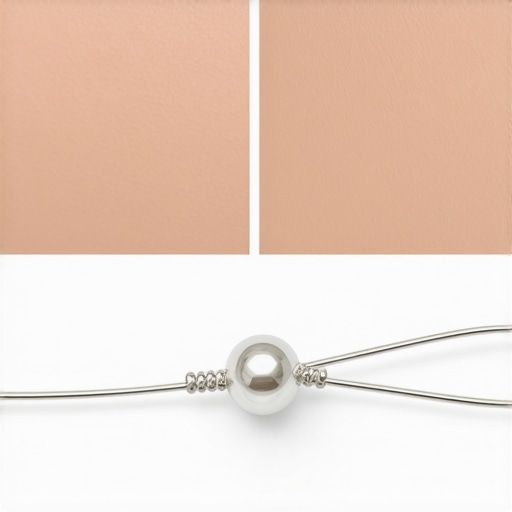
Learn How to Hidden Knot for Better Security
To keep knots hidden and secure, use fine, matching thread and tie multiple surgeon’s knots before trimming. This is crucial in avoiding visible knots and ensuring the longevity of your strand. I once learned this through a tutorial, practicing repeatedly until the knots disappeared inside the beads. Proper knotting not only enhances appearance but also prevents beads from slipping—especially important for valuable pearls whose setting could be compromised if a knot fails.
Secure the Clasp and Finish Properly
Attach the clasp firmly with a reliable crimp or knot, ensuring it won’t loosen with wear. For added protection, reinforce the connection with a drop of jewelry adhesive at the knot. During my latest restringing project, I found that twice-checking the clasp’s tightness saved me from the embarrassment of discovering it was loose after a few wears. Additionally, consider adding a safety clasp or a backup knot, particularly if you plan to wear the necklace daily. For peace of mind, review your work by applying light tension to verify that beads remain in place.
Compare and Elevate Your Restringing Skills
To fully master the art, consistently review your technique, explore advanced methods like incorporating reinforced knots or alternative materials such as stainless steel cords. Check out [5 custom engraving mistakes](https://jewelcarecenter.com/5-custom-engraving-mistakes-to-avoid-in-2026-checklist) to personalize your jewelry and make it uniquely yours. Remember, the goal isn’t just to restring but to prolong the life, shine, and value of your pearls. Each successful project boosts confidence and ensures your jewelry remains flawless for years to come.
While many believe that mastering stone setting, engraving, appraisal, and restringing involves straightforward techniques, the reality is far more complex. A prevailing misconception is that these processes are static and uniform; in truth, they demand an understanding of subtle nuances that can make or break the integrity and value of your jewelry.
For instance, a common myth is that any prong or bezel setting is secure as long as it’s tight. However, even a slight oversight—such as improper alignment or inadequate tension—can lead to loose stones or even loss. Experts in the field know that the craftsmanship intricacies, like the angle of prongs or the precise tension in tension settings, are critical for durability—details often underestimated by amateurs. Learning to identify these nuances can prevent costly repairs and heartache.
When it comes to engraving, many think that laser engraving has rendered hand-engraving obsolete. Yet, experience shows that hand-engraving offers unparalleled depth and permanence, especially important for heirlooms. The nuance lies in mastering depth control and tool angle; shallow engraving can wear off over time, while too deep might weaken the metal structure. According to a recent study by jewelry preservation experts, these minute differences significantly impact long-term durability (deep engraving techniques).
Another area rife with misconceptions is jewelry appraisal. Many assume that appraisals are purely a matter of market value, but in reality, a reliable appraisal must consider hidden red flags such as subtle signs of previous repairs or inconsistent hallmarking. Failing to recognize these nuances can lead to undervaluation or even insurance claims rejection. For a comprehensive understanding, reviewing common pitfalls in appraisals can be invaluable (hidden red flags in appraisals).
How can subtle details in stone setting or engraving trip up even seasoned hobbyists?
In restringing, the myth that silk is always the best choice persists. However, for heavier or high-value necklaces, this can be a deadly assumption. The real nuance involves selecting the appropriate tension and material—such as Kevlar or steel-core threads—designed for specific weight and wear conditions (thread options for restringing). Ignoring this fine-tuned detail often results in early fraying or bead loss, undermining the necklace’s longevity.
Understanding these hidden nuances means acknowledging that each task—be it a delicate setting or a complex appraisal—requires an expert eye for the minute details. The benefit is longevity, safety, and increased value. Don’t let common misconceptions lead you astray. Have you ever fallen into this trap? Let me know in the comments.
By digging beneath surface-level techniques and appreciating the subtle craftsmanship intricacies, you elevate not only your knowledge but also the quality and durability of your jewelry collection. Remember, in jewelry—just like in many crafts—it’s the small details that truly count.
,
Invest in Quality Tools for Long-Term Success
Maintaining exquisite jewelry requires precision and reliable equipment. I personally swear by using a set of fine jeweler’s pliers with anti-slip grips and a high-magnification loupe to detect early signs of wear. These tools enable me to make delicate adjustments without risking damage, especially when inspecting settings or reapplying tiny security knots. For restringing heavy necklaces, I prefer using a Kevlar thread, which offers superior durability over silk and resists fraying under daily wear. Investing in quality tools not only improves your craftsmanship but also prolongs the lifespan of your jewelry.
Leverage Software and Techniques to Ensure Precision
Beyond physical tools, I utilize specialized software to plan engraving designs and visualize stone setting layouts. Programs like RhinoGold or MatrixGold streamline responsibilities and help foretell potential stress points. For instance, digital simulations can reveal how different prong angles influence stone retention, reducing the risk of losing a gem unexpectedly. As technology advances, integration of 3D printing for creating custom fixtures or test models is becoming invaluable for meticulous restorations. These methods save time and customer frustration, underpinning our commitment to excellence.
Adopt a Routine for Maintenance and Inspection
Consistent upkeep is key. I review my jewelry collection quarterly, checking for loose stones or frayed threads. Regular inspections using a jeweler’s loupe can reveal subtle damages before they escalate. Clean your pieces gently with a soft brush and mild solution; avoid harsh chemicals that can weaken settings or dull metals. For tight spots or intricate engravings, consider ultrasonic cleaning, but always consult an expert to prevent accidental damage. Remember, preventive maintenance is far more cost-effective than repairs—think of it as investing in the future of your jewelry.
How do I maintain jewelry over time? Easy steps include using the right cleaning agents, storing in soft pouches, and scheduling professional inspections annually. Incorporating these habits ensures your pieces stay beautiful and secure, preserving their value for generations. Looking ahead, I believe advancements like smart sensors embedded in jewelry could inform owners of early signs of damage, making maintenance even more proactive. For now, commit to regular care and utilize recommended tools—your jewelry will thank you.
Ready to elevate your jewelry care game? Try integrating a Kevlar restringing technique for your heavy necklaces today. Combine this with a meticulous inspection routine, and you’ll be amazed at how much longer your jewelry remains pristine and secure.

If there’s one thing I had to learn the hard way, it’s that mastering jewelry care is as much about understanding the subtle nuances as it is about following basic guidelines. The small details—like the angle of a prong or the depth of a hand-engraved line—can significantly impact the durability and beauty of your pieces. I once overlooked a tiny misalignment in a prong setting, and within months, I lost a precious diamond. That experience taught me to pay close attention to the fine craftsmanship details that most overlook.
The Clarity Few Seek in Jewelry Lessons
One lesson that often slips past jewelry enthusiasts is that the quality of craftsmanship isn’t always visible to the naked eye. For example, a secure stone setting isn’t just about the prongs being tight; it’s about their precise tension, the way they’re tucked, and their alignment. Similarly, a deep, consistent engraving can withstand years of wear—if done with the right technique. These are insights that only come with experience or expert guidance, which is why I highly recommend learning from trusted sources like stone setting expert tips.
Understanding these tiny yet critical distinctions has truly transformed how I care for my jewelry. It’s about recognizing that excellence lies in the details—like choosing the right restringing material or knowing how to hide a knot securely inside a bead. When I started implementing these nuanced practices, I saw my jewelry last longer and sparkle brighter, proving that paying attention to the smallest details is worth every effort.
My Go-To Resources for Jewelry Mastery
Over the years, I’ve curated a set of resources that have profoundly elevated my understanding of jewelry care. For instance, I rely heavily on appraisal techniques that emphasize the importance of accurate red flags and documentation, which directly influence how well your jewelry is protected and valued. For restringing, I trust Kevlar and steel-core threads—they’re game-changers for those with heavy or valuable strands. Additionally, I follow insurance policy updates to stay ahead of regulatory shifts, saving myself from future surprises. These resources have empowered me—and can do the same for you in mastering the art of fine jewelry care.
Your Next Step: Elevate Your Jewelry Confidence
Remember, the journey to jewelry mastery is ongoing, but every small step counts. Whether it’s practicing hidden knots, upgrading to durable restringing materials, or inspecting your pieces regularly, each action preserves your investment and enhances their allure. Investing in learning these nuances now means your jewelry will continue to impress and last for generations. So, why not pick one new technique or resource today and start making a meaningful change? Your jewelry—and your future self—will thank you.
Which subtle detail in jewelry craftsmanship have you overlooked that turned out to be crucial? Share your story below!
,
![3 Toughest Restringing Cords for Heavy Necklaces [2026 Stress Test]](https://jewelcarecenter.com/wp-content/uploads/2026/02/3-Toughest-Restringing-Cords-for-Heavy-Necklaces-2026-Stress-Test.jpeg)